
COSMO is NOT a product, but an open source project devoted to make hardware- and software frameworks for making embedded standalone Csound instruments to use on stage. The separate parts of the project can also be used individually - the cosmo-dsp library will for instance work on any platform the runs Csound (see Program COSMO for more information).
This documentation page is focused on building a COSMO using the Raspberry Pi and is mainly kept her for legacy reasons. The COSMO team are currently using the Bela platform, since it’s much better for real-time application, can do extremely low latency, have a much smaller and more intergrated hardware solution and a fantastic web-based IDE which makes the software development much smoother.
- 1. Preparations
- 2. Connect
- 3. Solder
- 4. Assemble
- 5. Configure and test
- 6. Program and play
- 7. Update
- 8. Other useful information
1. Preparations
These instructions assume that you have the following hardware:
- A Raspberry Pi (version 2 or 3) with the latest COSMO image. If you don’t have this image installed, go to section 6.4 first.
- Either a Behringer UCA222 USB sound card or a Cirrus Logic Audio Card
- One of our custom PCBs for controller input and output - the COSMO HAT or the COSMO Plank
The Cirrus Audio had given best results in both latency and audio quality, but is not compatible with the COSMO HAT.
We also have a custom designed analog cross-mixer to blend between the dry and the processed signal, but this is optional for these instructions.
IMPORTANT NOTE!!!
We do NOT produce or sell our custom hardware, but all the schematics are open source and you’re free to print and assemble the PCBs on your own. Unfortunately we don’t have time to do any support on this, so you’ll have to figure it out on your own. If you don’t have the time or the skill to do this, we can recommend using the Bela platform instead
All the schematics can be found at https://github.com/cosmoproject/cosmo-schematics
2. Connect
The easiest way of connecting to your Raspberry Pi/COSMO is by connecting both it and your computer to a router or some other existing network. The other solution, which is to set up a direct connection (an ethernet cable) between your computer and RPi/COSMO, involves a few more steps and can have several quirks depending on type and version of OS.
Another option, is to connect a keyboard and screen and work directly on the Raspberry Pi
2.1 How to log in to the Raspberry Pi on existing network
COSMO Raspbian Image login credentials
login:pipassword:raspberrybonjour-name:cosmo1.local
For the COSMO Raspbian Image pi is the default username, raspberry is the default password and cosmo1.local is the default network name for the Pi. If you want a personal network name for your COSMO, see How to change the network name of your COSMO)
OS X
- Open Finder, go to
/Applications/Utilitiesand open the app calledTerminal - In the terminal you type
ssh pi@cosmo1.local - When prompted, type in password
raspberry
Windows
- Download and install
puttyfrom www.putty.org - Open
putty.exe - Type in
cosmo1.localin theHost name or IP address-field. Make sure the connection type is set toSSH - Press
Open - When prompted, type in username
piand passwordraspberry
Linux
- If you’re in X, open a terminal window
- Type
ssh pi@cosmo1.local - When prompted, type in password
raspberryin
2.2 How to log in to the Raspberry Pi using a direct connection
OS X
- Connect an Ethernet cable between your computer and Raspberry Pi - make sure the lights on the RPi Ethernet port are lit (orange and green)
- On your Mac, press the Apple logo in the top left corner and choose
System Preferences... - Press the
Sharingicon - Select the
Internet Sharingoption - In the dropdown menu next to
Share your connection from, selectWi-Fi - In the list next to To computers using check the box next to
EthernetorThunderbolt Ethernet(depening on what model your Mac is) - Check the box to the left of
Internet Sharing(in the column namedOn) to start Internet Sharing - You will get a message box displaying a warning - push the
Startbutton - Now open Finder and go to
/Applications/Utilitiesand open the app calledTerminal - In the terminal you type
ssh pi@cosmo1.local(piis the username we use to log on to the Pi and cosmo1.local is the network name for this Pi. If you want a personal network name for your COSMO, see How to change the network name of your COSMO) - This should prompt you for a password to log on to the Pi. The default password on the COSMO Raspbian Image is
raspberry - You should now be logged on to your COSMO ready to make some crazy sounds!
Note: names may vary slightly depending on version of OS X
Windows
Coming…
Linux
Coming….
2.3 How to change the network name of your COSMO
- Log in to the Raspberry Pi
- Type
raspi-config - Go to
Advanced Options - Go to
Hostname - Type in your desired name
- Press ok and let the Raspberry reboot
- You can now access your Raspberry Pi using the name you chose + ‘.local’ (eg. ‘myawesomecosmo.local’)
3. Solder
3.1 About custom COSMO hardware
These instructions are primarily for building a COSMO Box with the hardware components we provide during our workshops. Unfortunately we don’t have our custom designed controller board, COSMO plank, or our custom designed stereo true bypass and dry/wet cross mixer board available for sale anywhere, but it’s all open source, so if you want to produce and assemble the PCBs yourself head over to our github.
- COSMO plank schematics can be found here: https://github.com/cosmoproject/plank
- CrossMixer schematics can be found here: https://github.com/cosmoproject/bypass_crossmix
3.2 Power Supply Unit
- Solder 9V connector to the In (- ground; +) of the MH-MINI-360 converter
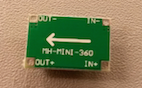
- Negative is center on guitar equipment!
- Connect a 9V power supply to the connector
- Use a voltmeter to test from the out(-) of the converter circuit to the input - you should see 9V
- Measure the output of the converter, which will be 9V or lower
- Use a screwdriver to adjust the screw on the circuit until you measure 5V output
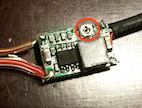
- Solder the red (+) and the black (-) leads of a micro USB-cable to the output of the converter.
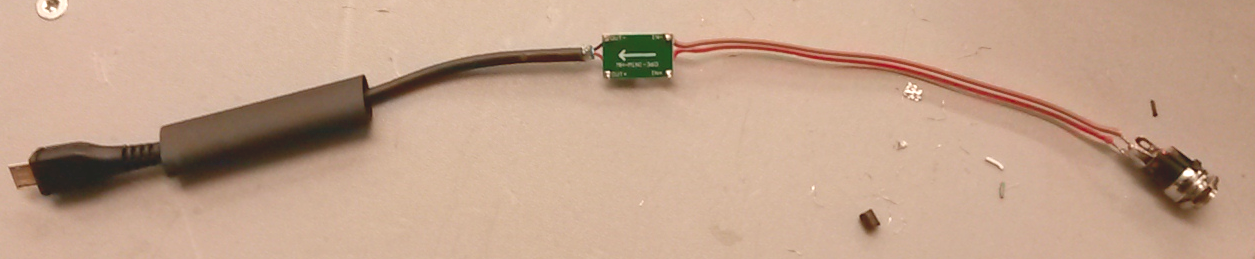
(If you’re using the Cirrus Audio Logic card you can use a power jack instead of micro USB to power the Pi through the Cirrus Audio Logic card)
3.3 CrossMixer audio in/out
If you have V1 of the COSMO CrossMixer, download this pdf
3.4 CrossMixer pot, LED, switch and power
If you have V1 of the COSMO CrossMixer, download this pdf
3.5 COSMO HAT to Raspberry Pi
The only thing needed to connect the COSMO HAT to the Pi, is to solder a 40-pin header on to the COSMO HAT and then attach the HAT on top of the Rasperry Pi 40-pin header.
Picture coming…
3.6 COSMO plank to Raspberry Pi
Coming…
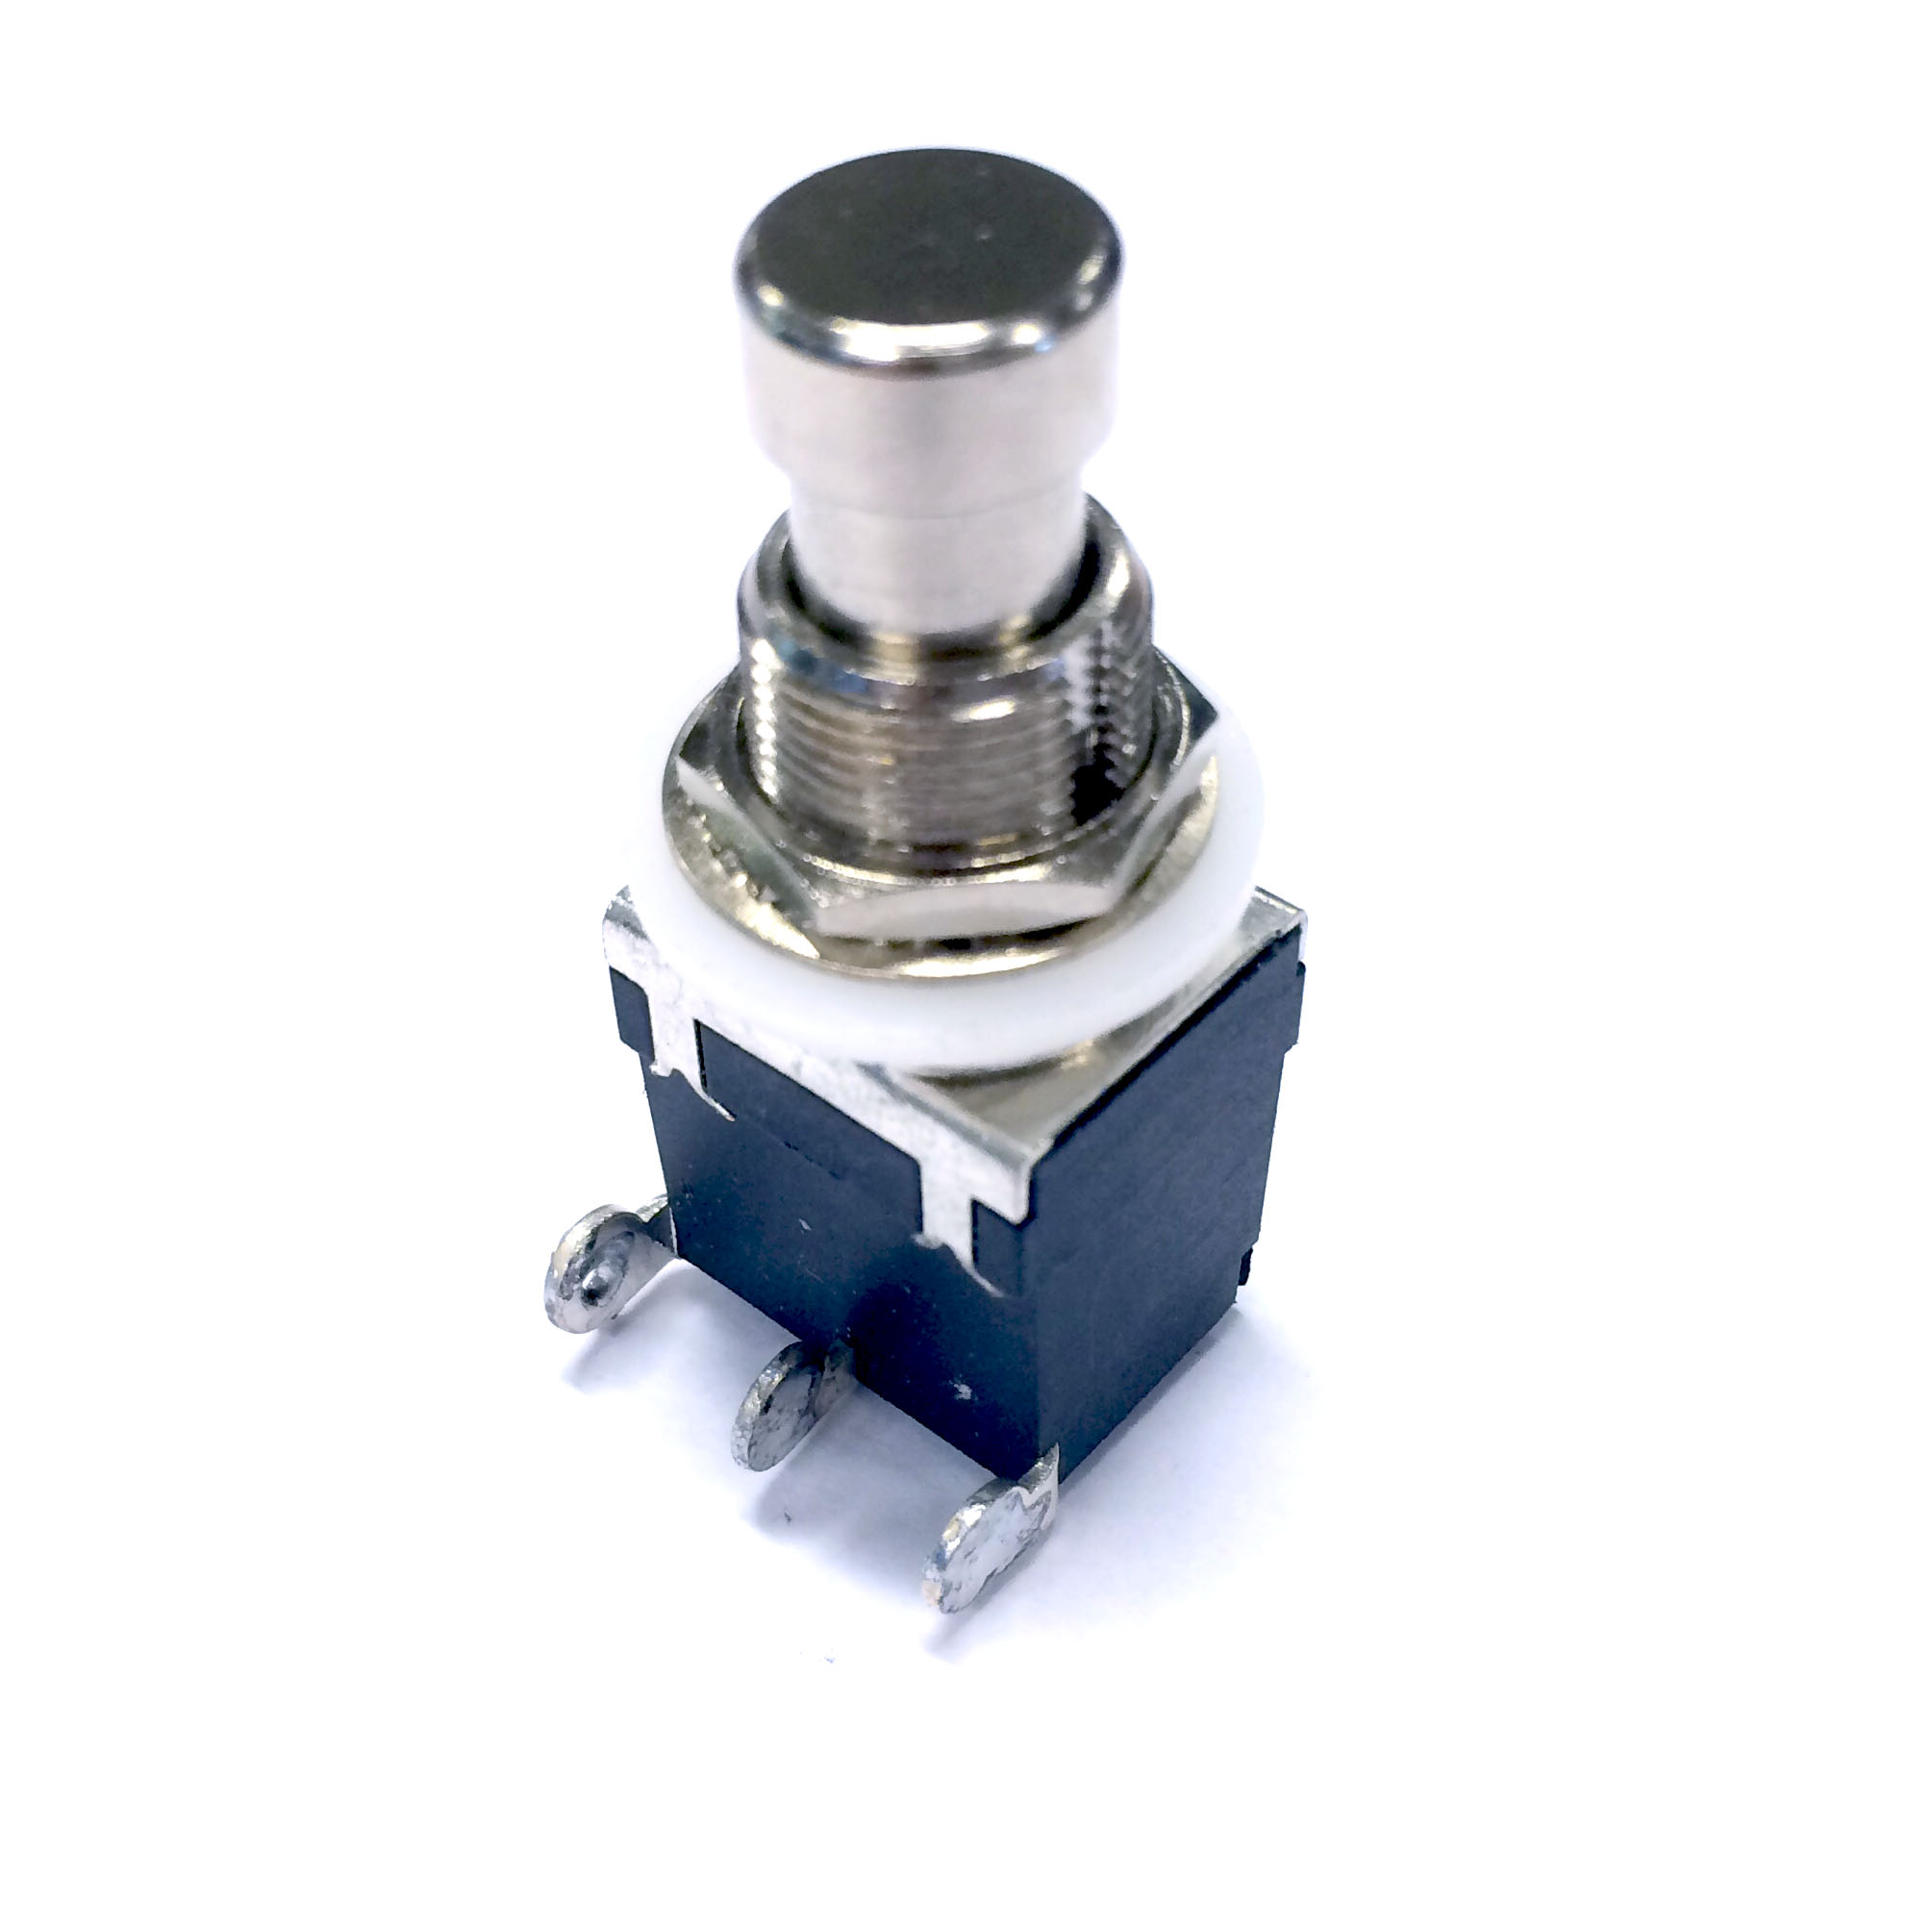
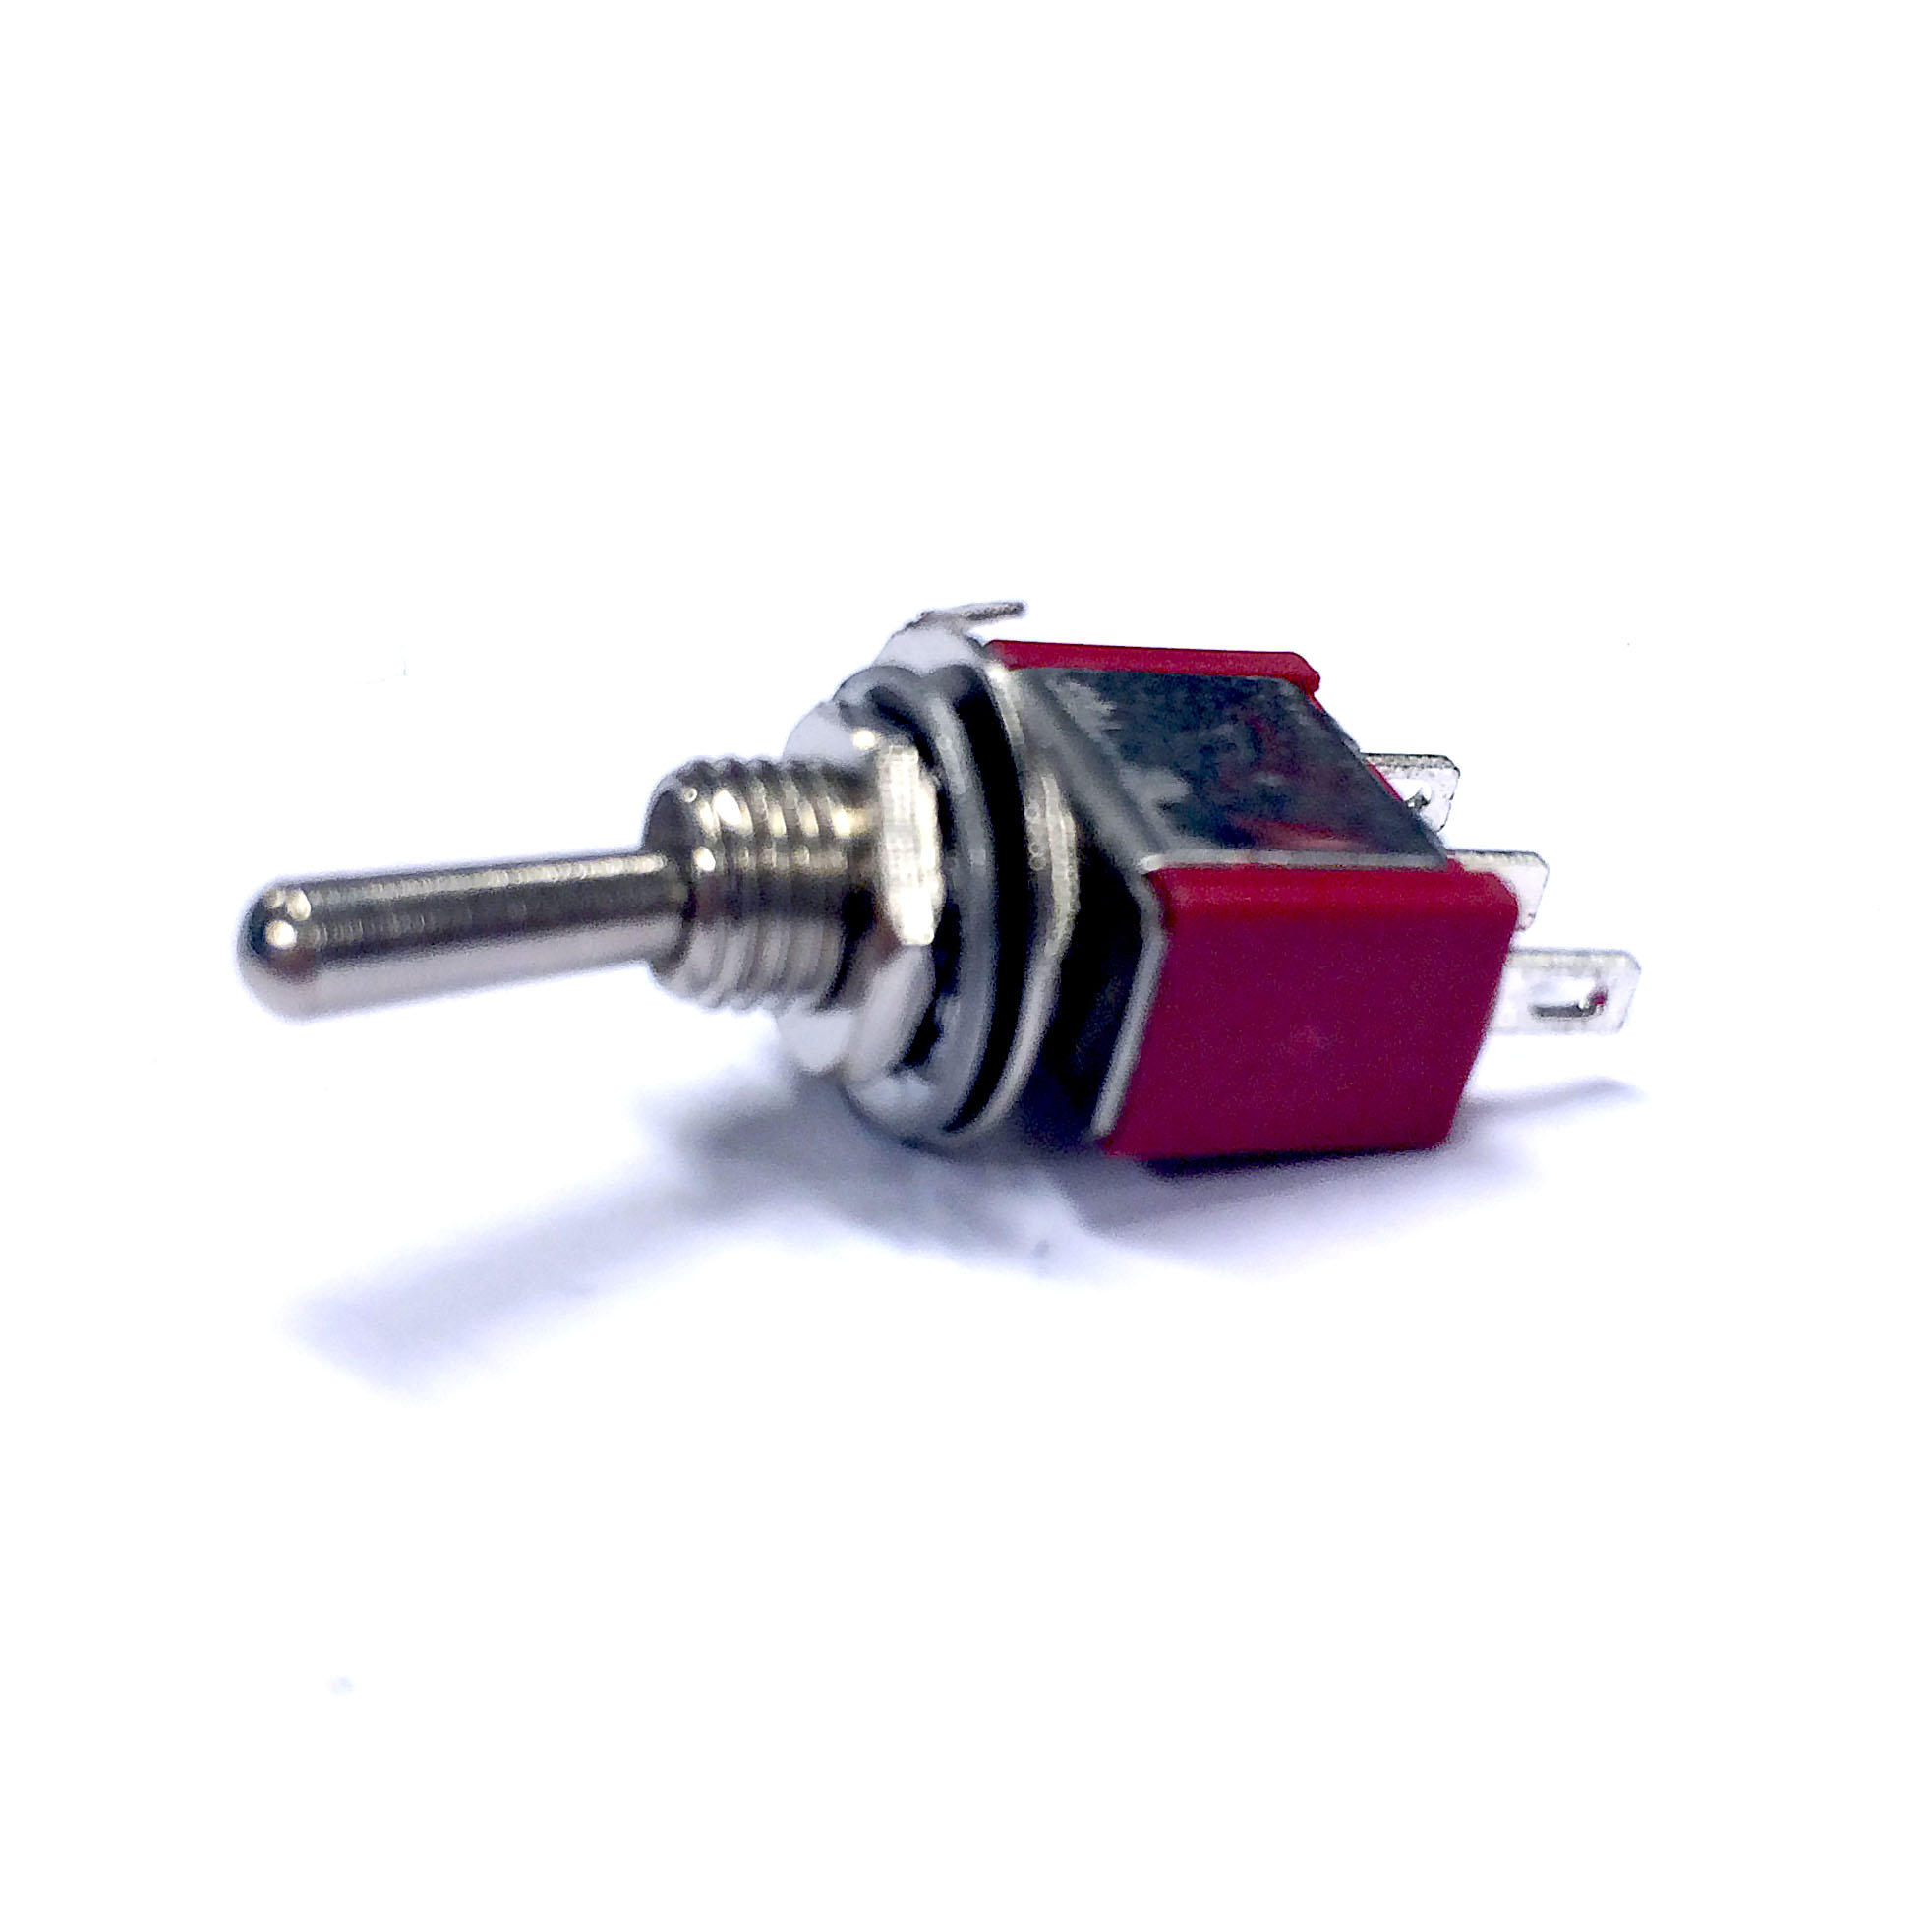
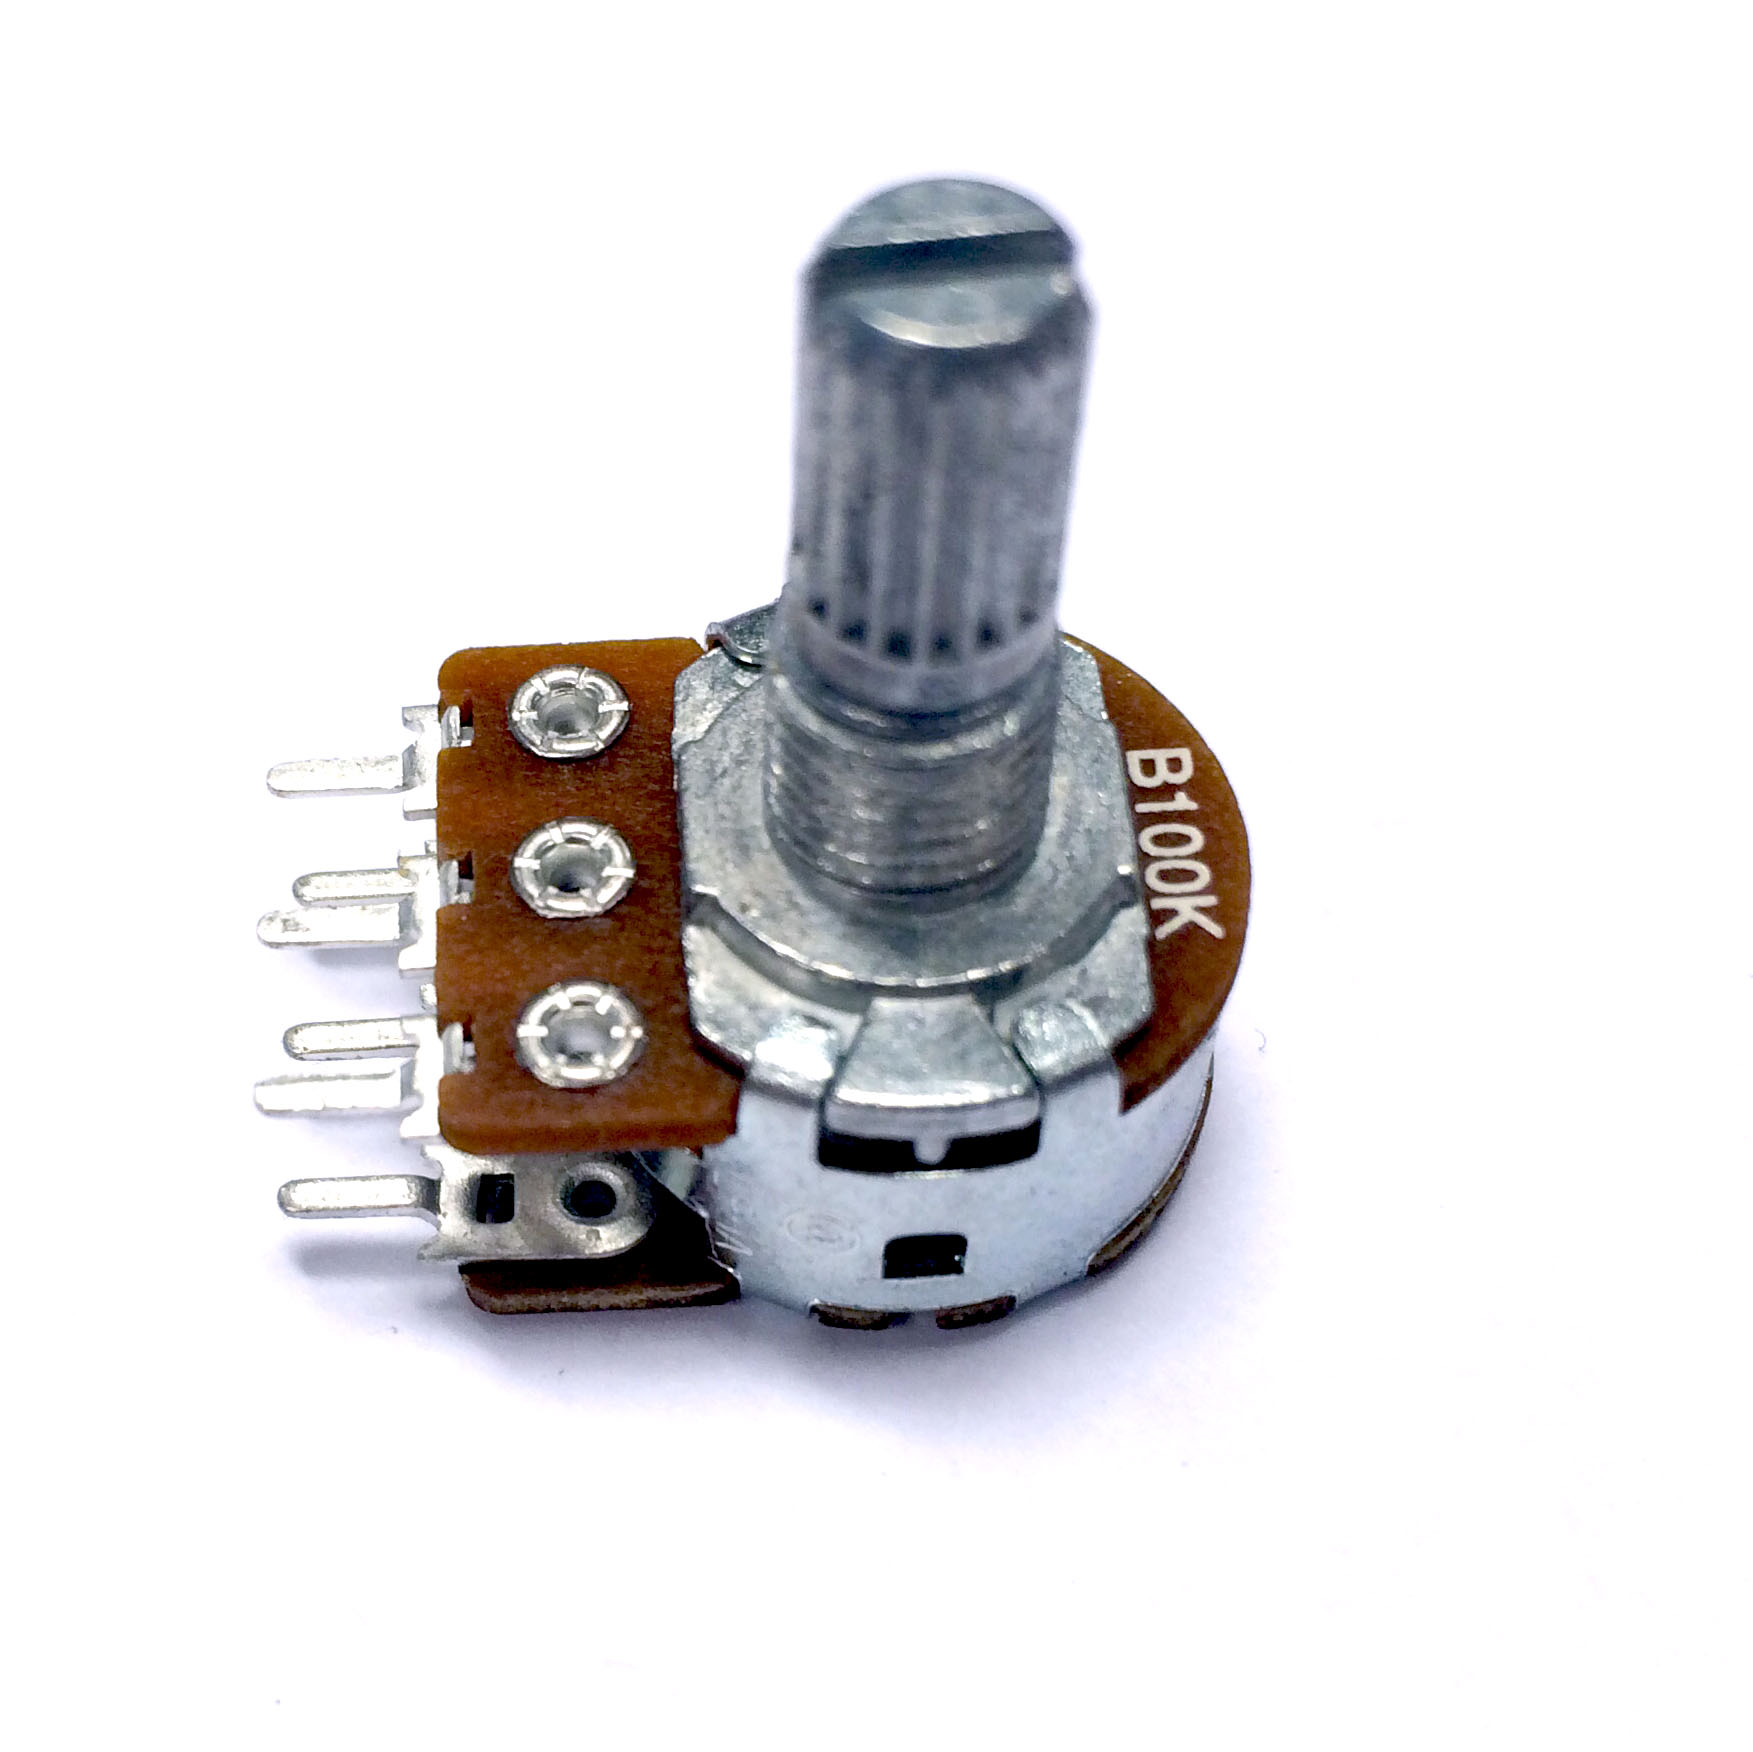
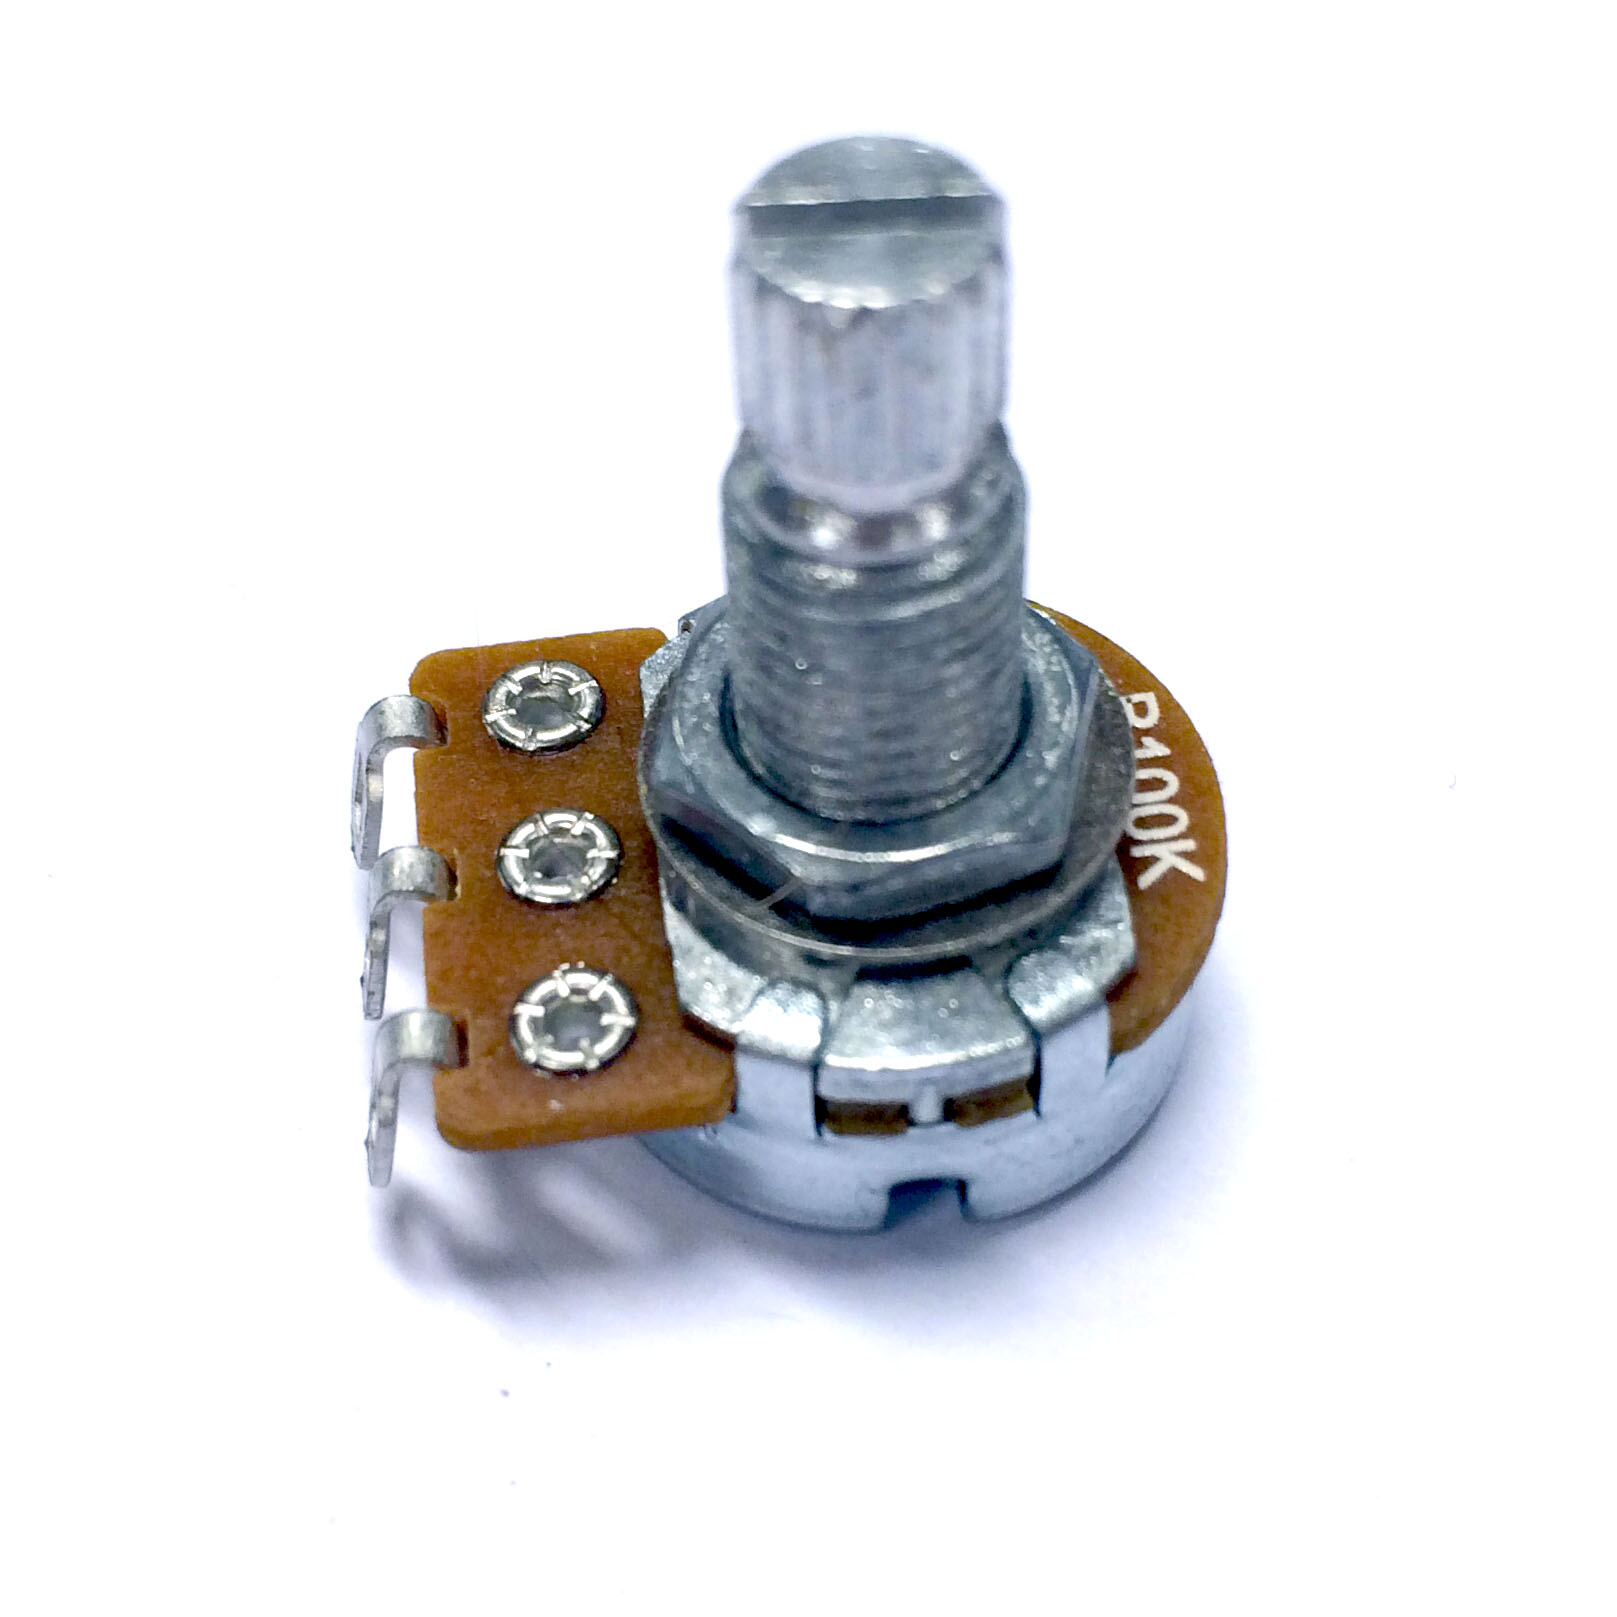
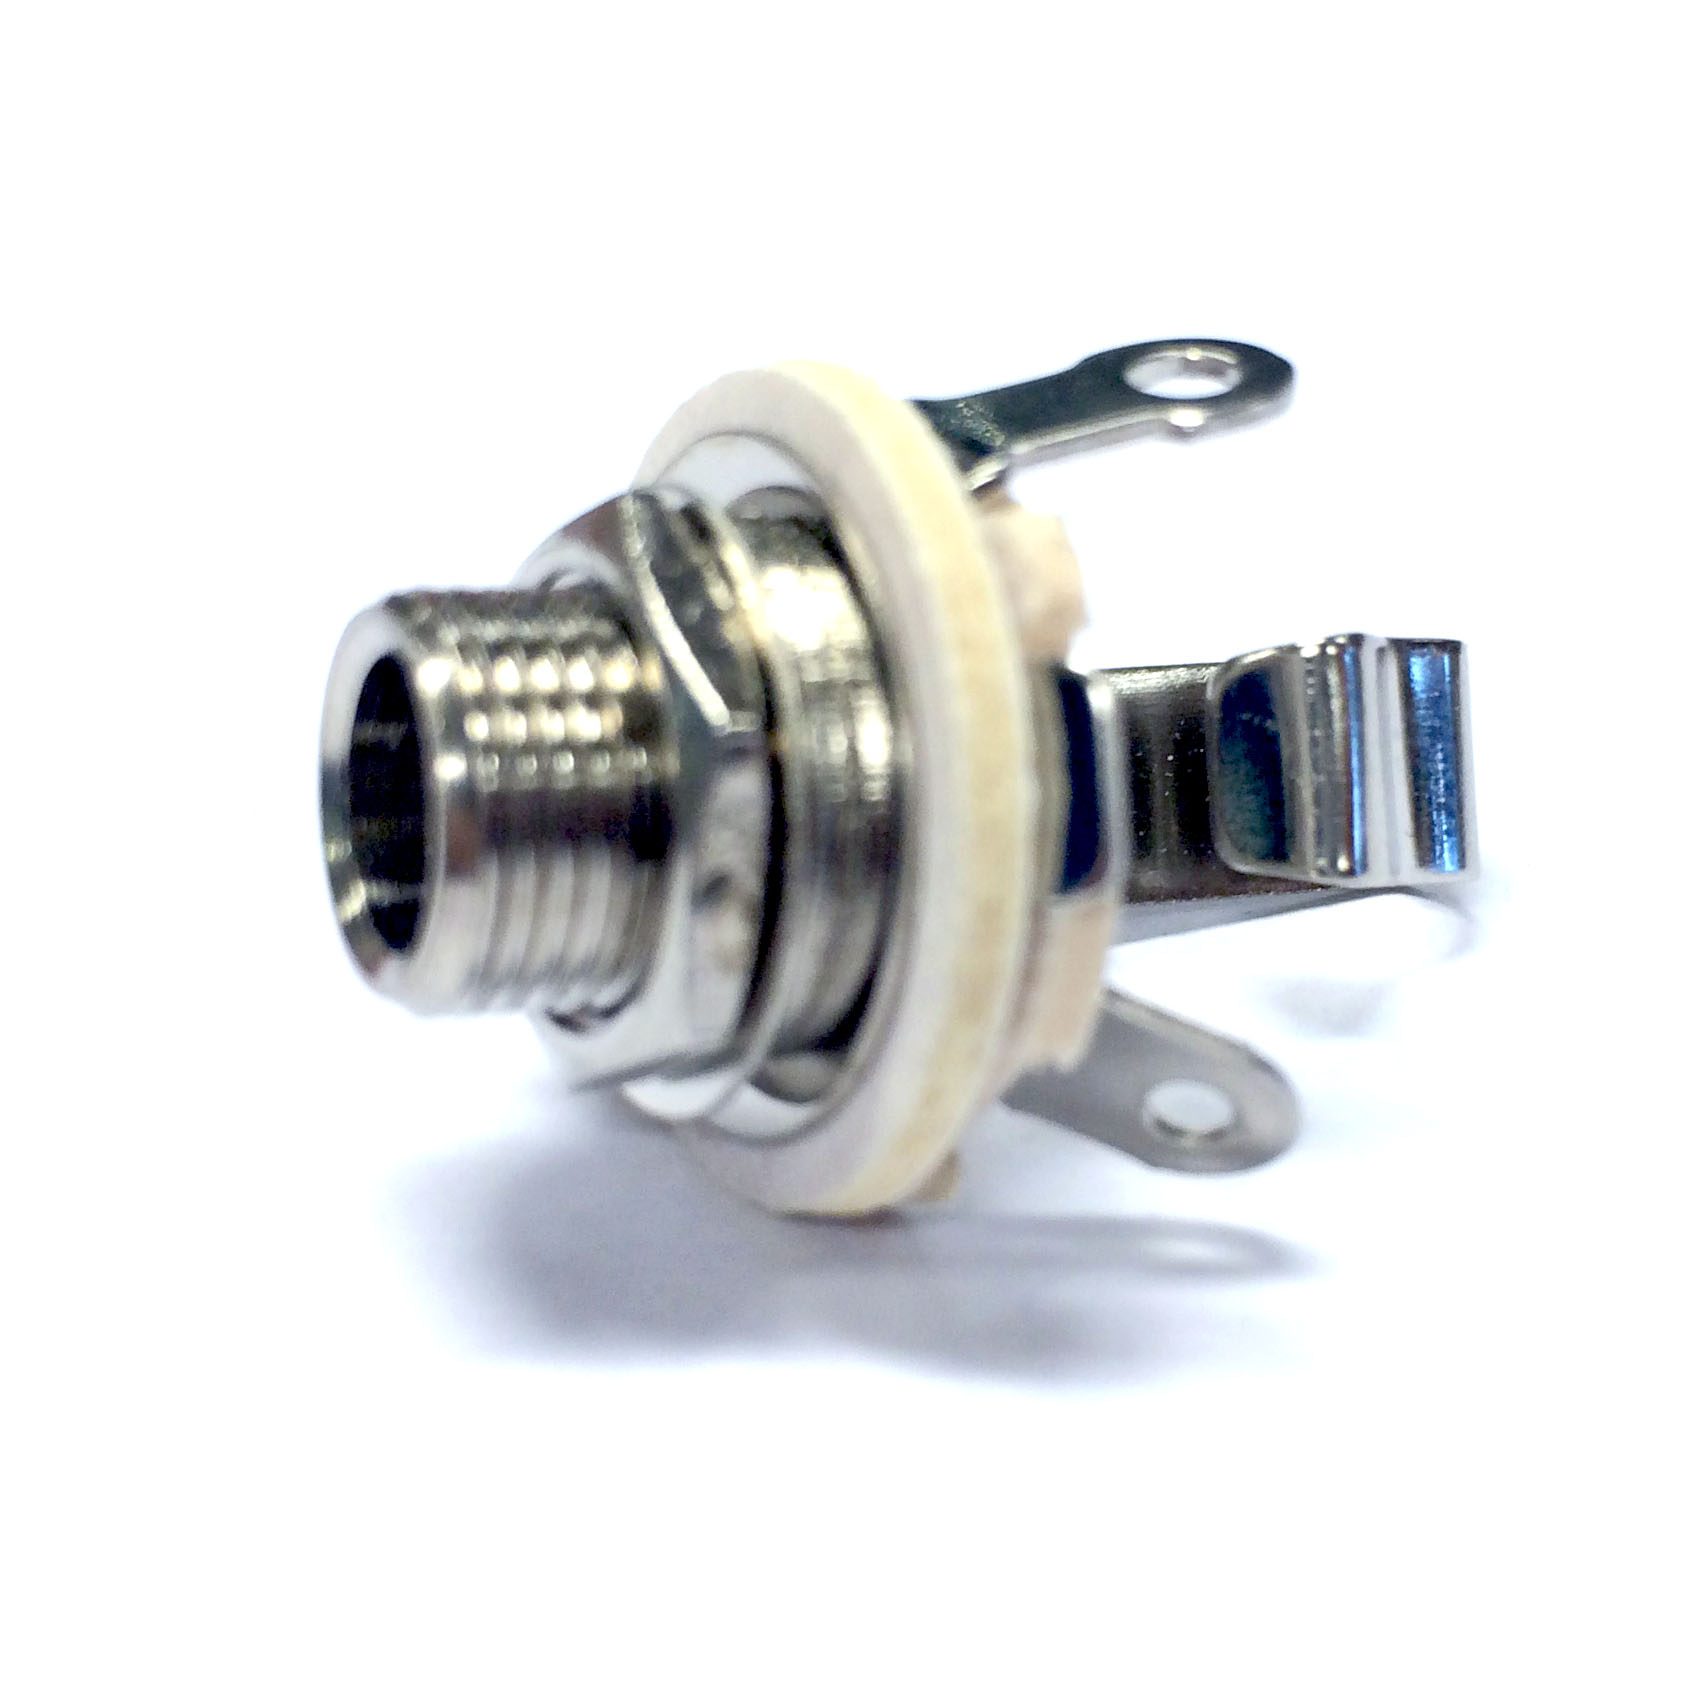
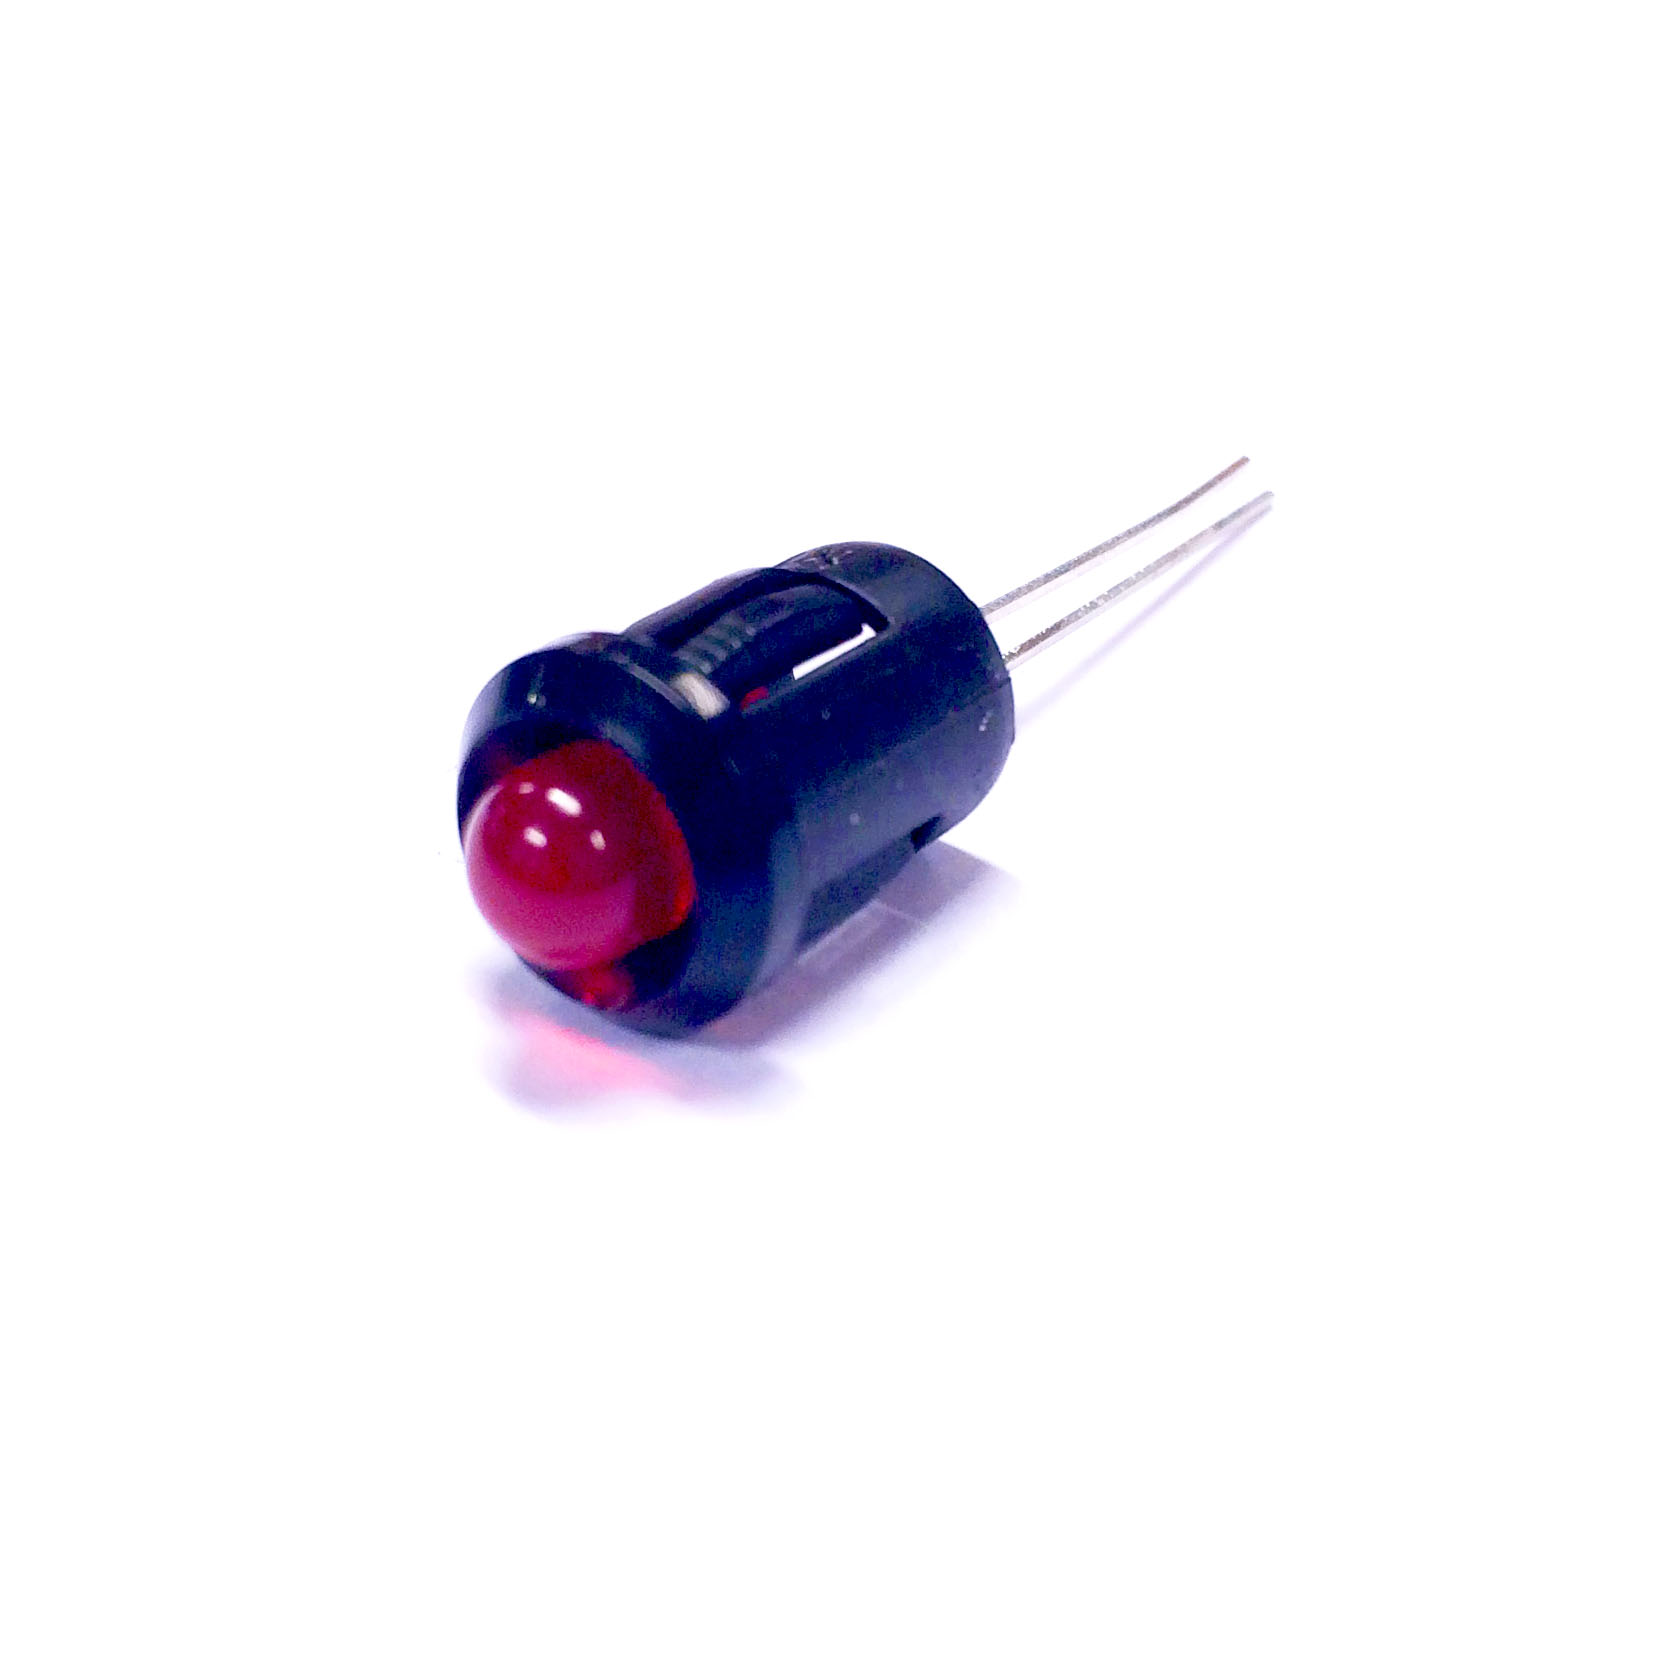
3.7 Pots, switches and LEDs
4. Assemble
4.1 Design your box
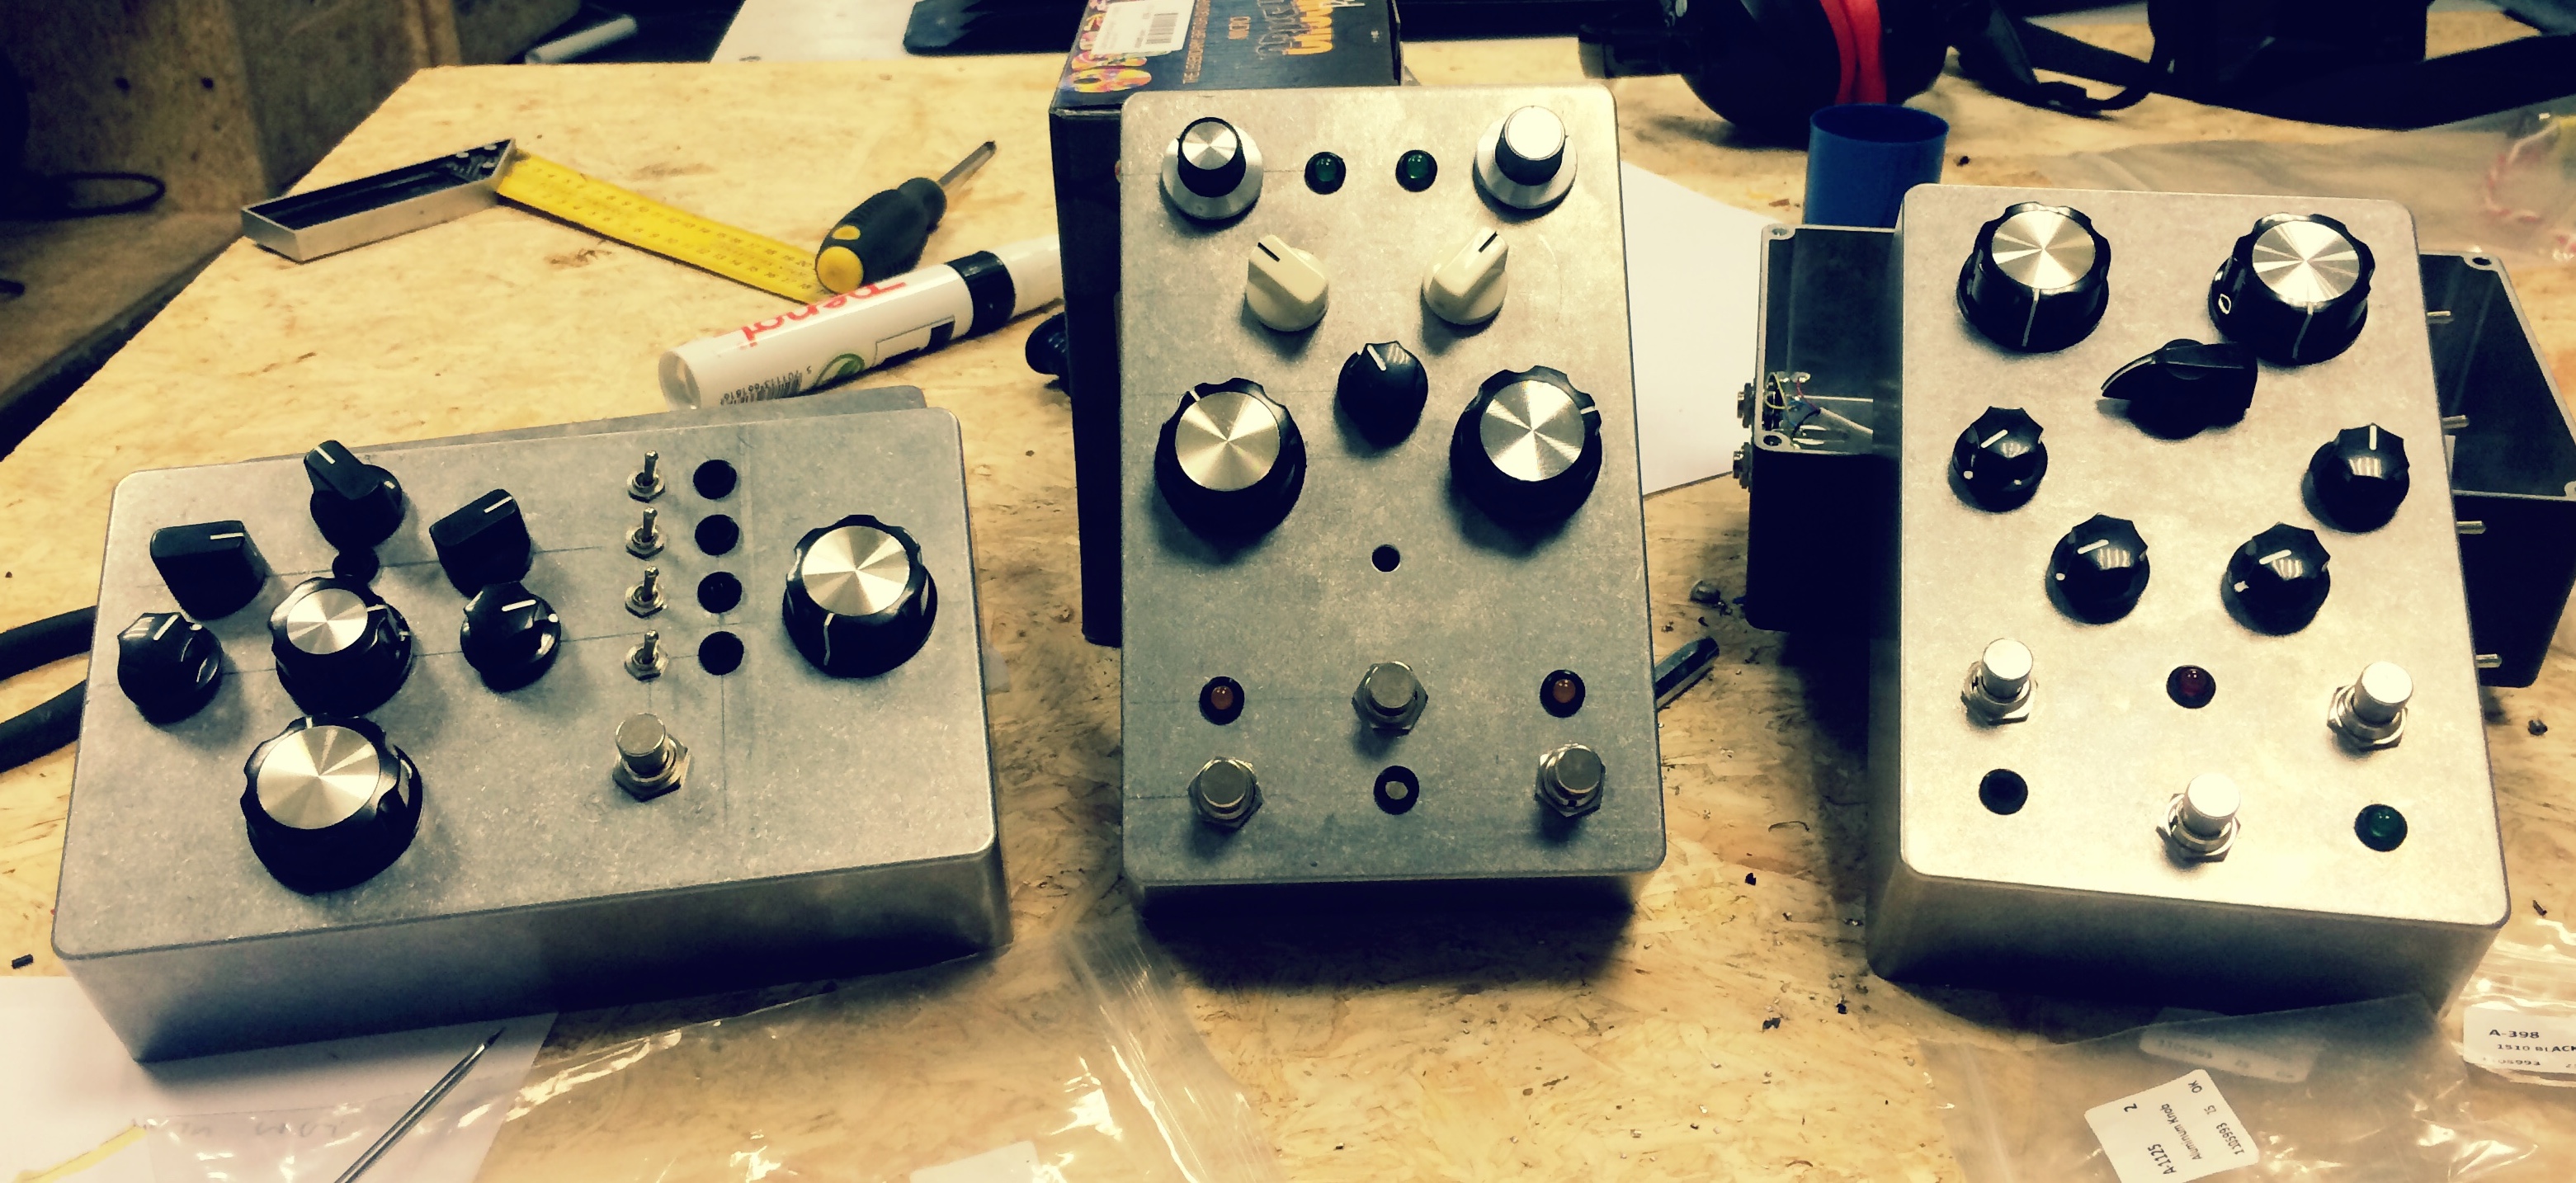
Lay out all your components (knobs, jacks, leds, pots) and make a design that both suits your artistic ideas and fits within the box. Remember to make enough for all the hardware on the inside! A good way of testing this, is to make a quick mockup cardboard version of your enclosure and try fitting everything in there first.
Here are some examples of COSMO-designs from previous workshops:
4.2 Drill holes into the enclosure
| Component hole sizes | ||
|---|---|---|
 |
 |
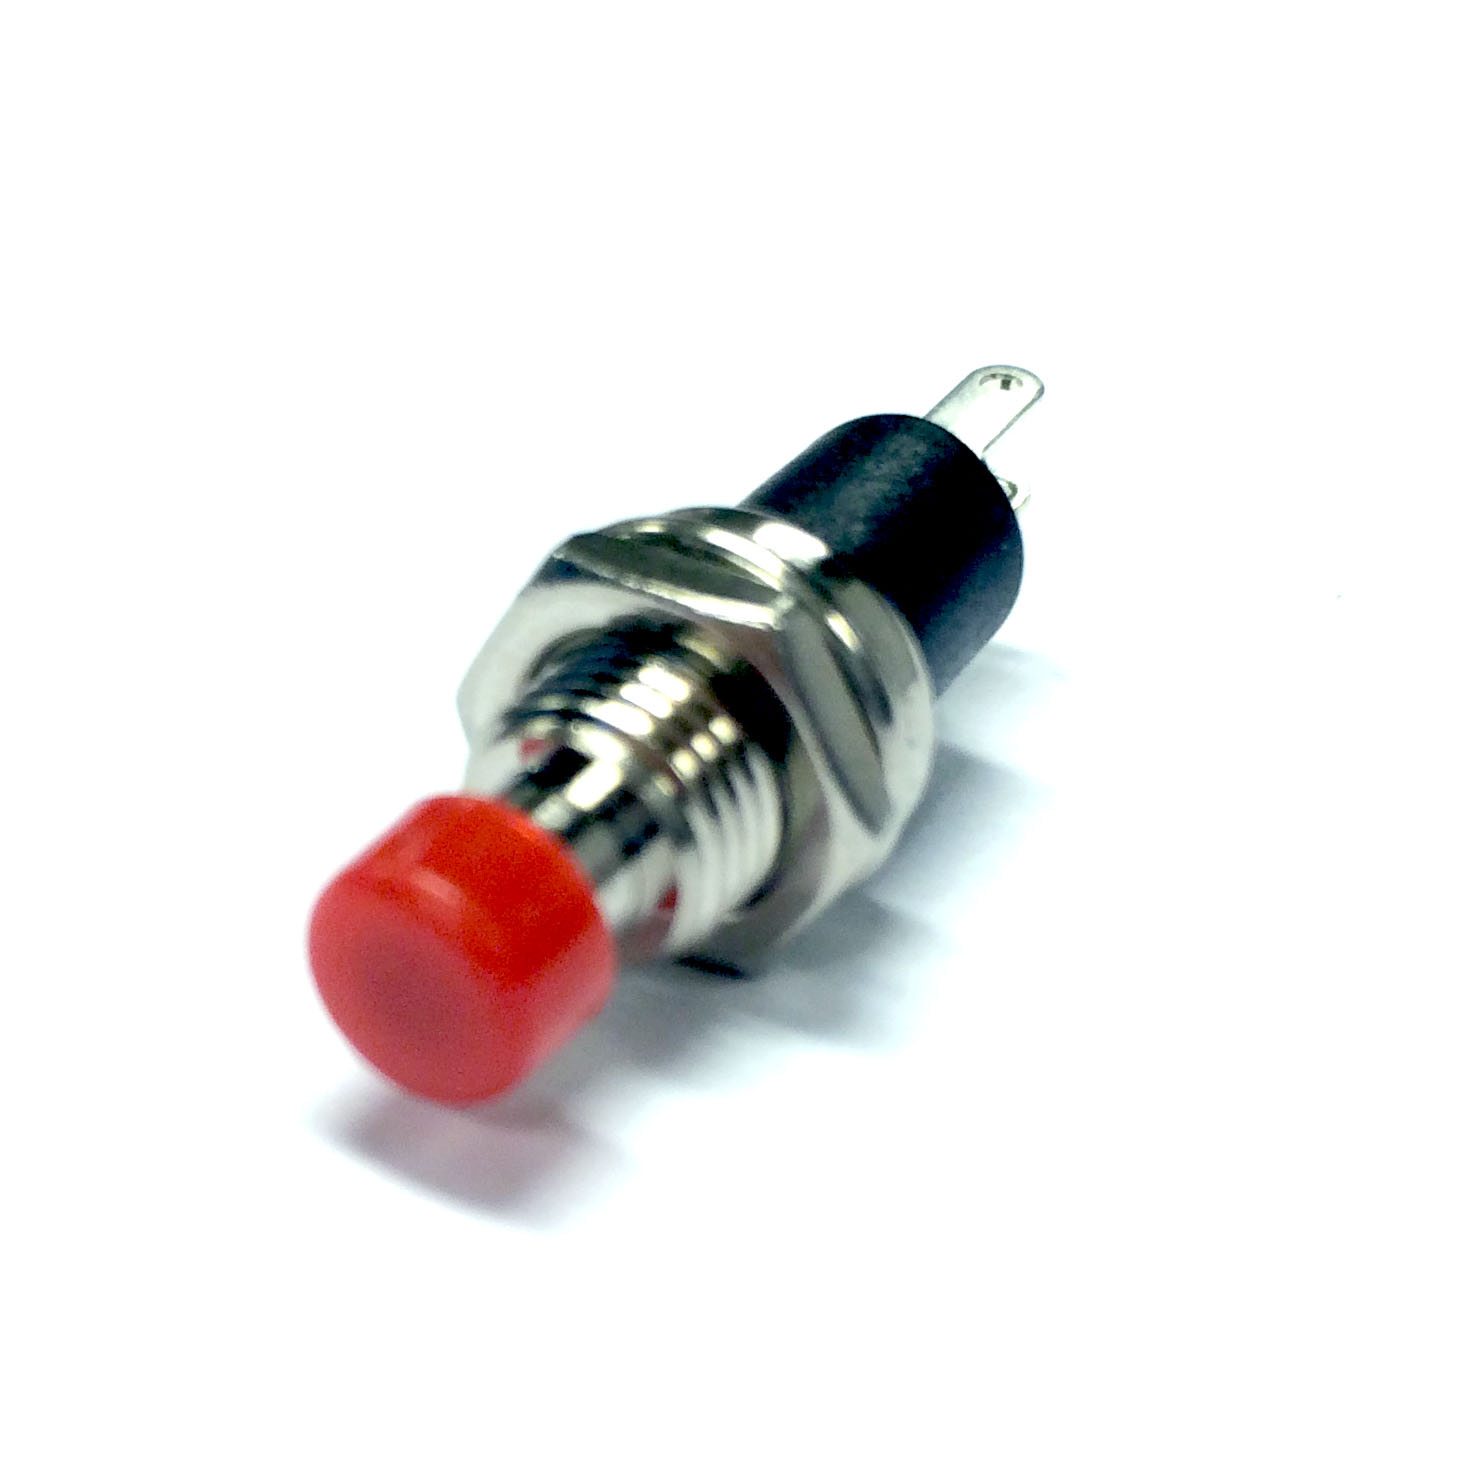 |
| Stomp Switch: 12mm | Toggle Switch: 6mm | Small Push Button: 7mm |
 |
 |
 |
| Stereo Potentiometer: 7mm | Mono Potentiometer: 7mm | 6.35mm Jack (in/out): 9mm |
 |
||
| 5mm LED with holder: 8mm |
4.3 Fit everything into the enclosure
- Mount knobs and switches
- Solder connections to the COSMO plank
- Connect USB-Soundcard or Cirrus Audio Logic HAT to RPI
- Connect Soundcard In- and Outputs to Jack connectors in the enclosure
5. Configure and test
5.1 How to configure the COSMO plank
- Log in to the Raspberry Pi
- Type
cp cosmo-fw/cosmo.config.plank.sample .cosmo - Type
nano .cosmo - You can now list which inputs are used for switches and which outputs are used for LEDs and change the order
- Each analogue input will have two values, min and max, which can be used to calibrate each input (values have to be in the range from 0 to 1023) and invert the signal (setting max value as min and vica verca)
5.2 How to configure the COSMO HAT
- Log in to the Raspberry Pi
- Check that your boot settings are configured for COSMO HAT - see section 6.3 Update /boot/config.txt for COSMO HAT
- Type
cp cosmo-fw/cosmo.config.hat.sample .cosmo - Type
nano .cosmo - You can now list which inputs are used for switches and which outputs are used for LEDs and change the order
- Each analogue input will have two values, min and max, which can be used to calibrate each input (values have to be in the range from 0 to 8192) and invert the signal (setting max value as min and vica verca)
5.3 How to test the COSMO plank
- Log in to the Raspberry Pi
- Kill any running instances of python/csound by typing
killall python3 times - Type
cd cosmo-fw - Type
python check_plank.py - All leds will blink in a binary counting pattern and you will see the values for all pots and switches when you twist and push them
- Note down all maximum and minimum values for the analoge inputs
5.4 How to test the COSMO HAT
- Log in to the Raspberry Pi
- Kill any running instances of python/csound by typing
killall python3 times - Type
cd cosmo-fw - Type
python check_hat.py - All leds will blink in a single running light
- Note down all maximum and minimum values for the analoge inputs
5.4 How to test audio output from Csound
- Connect speakers or headphones to the output of the COSMO
- Log in to the Raspberry Pi
- Kill any running instances of python/csound by typing
killall python3 times - Type
cd cosmo-dsp - Type
cd WorkshopTestFiles - Type
csound audio-out-test.csd - Make sure the COSMO Cross Mixer (if installed) is dialed to 100% wet
- You should now here some decending sine tones coming from the COSMO outputs
- Press
Ctrl-C(possibly twice) to stop Csound
5.5 How to test audio input to Csound
- Connect an audio source to the input of the COSMO
- Connect speakers or headphones to the output of the COSMO
- Log in to the Raspberry Pi
- Kill any running instances of python/csound by typing
killall python3 times - Type
cd cosmo-dsp - Type
cd WorkshopTestFiles - Type
csound audio-in-test.csd - Make sure the COSMO Cross Mixer (if installed) is dialed to 100% wet
- The audio coming in to the COSMO input should now be passed through Csound and out to the COSMO output. The RMS amplitude value of the input is printed in the console
- Press
Ctrl-C(possibly twice) to stop Csound
5.5 How to selecting which Csound file to run on startup
- Log in to the Raspberry Pi
- Edit the script called
startup.sh- you could for instance use the nano editor, in which you would typenano startup.sh
6. Program and play
Since programming COSMO can be done in many ways and have almost unlimited possibilites, we’ve devoted a separate page for this purpose: How to program COSMO
Example of how to play with COSMO:
COSMO - Csound On Stage Music Operator from Bernt Isak Wærstad on Vimeo.
7. Update
7.1 Update the firmware for COSMO plank
- Log in to the Raspberry Pi
- Type
cd cosmo-fw - If you have changed any files within this folder, type
git stash - Type
git pull
7.2 Update the firmware for COSMO HAT
- Log in to the Raspberry Pi
- Type
cd cosmo-fw - If you have changed any files within this folder, type
git stash - Type
git pull - Type
make fuse
7.3 Update /boot/config.txt for COSMO HAT
- Log in to the Raspberry Pi
- Type
cd /boot - Type
sudo nano config.txt - At the end of the file, there are two lines you need to delete
- First find and delete
dtparam=audio=on - Secondly find and delete
dtoverlay=rpi-cirrus-wm5102 - Save and reboot your Raspberry Pi
7.4 Update the effect library from git
- Log in to the Raspberry Pi
- Type
cd cosmo-dsp - If you have changed any files within this folder, type
git stash - Type
git pull
7.5 Update entire image to latest version
CAREFUL! These operations can make your computer unusable if you mess up the commands! Read carefully!!
You will need a SD card adapter and reader to complete these steps
NB! If you’re using the COSMO HAT, you will need to make some changes to the /boot/config.txt file for it to work. See section 6.3 Update /boot/config.txt for COSMO HAT
OS X
- Download the latest COSMO image file from this location
- Power down the COSMO and extract the SD card from underneath the Pi
- Insert to SD card into an adapter and the adapter into your reader
- Open the terminal and navigate to the folder where you have placed the COSMO image
- Follow these instructions carefully: https://www.raspberrypi.org/documentation/installation/installing-images/mac.md
Windows
Coming…
Linux
Coming…
8. Other useful information
8.1 Edit files locally
The FTP client Cyberduck (can be downloaded at https://cyberduck.io/) allows you to edit files on the Pi in your favorite text editor locally on your computer. To connect, select SFTP as connection type and enter bonjour-name, username and password (raspberry) as shown here:

When you have connected, select the file you want to edit and simply hit the edit-button. This will open the file in the associated local editor and automatically upload and overwrite the file on the Pi every time you save.
8.2 List Audio interfaces
aplay -l
aplay -L
speaker-test -c2    # Stereo Test

speaker-test -c2 -Dhw:0 # Onboard Soundcard
speaker-test -c2 -Dhw:1 # USB Soundcard/Cirrus Logic Card
To adjust the sound volume, use the command alsamixer
Cirrus Logic Audio Card (CLAC)
The input and output channels of the CLAC can be turned on and off using the scripts provided in the following folder. This also allows to use the on-board microphone of the audio card, instead of the line-in connection.
ls CirrusLogic/bin/